Configuring a self-signed SSL certificate
Introduction
Password Express is managed over a secure web page, so you need to configure an SSL certificate on your system. When you are ready for production, use an officially signed certificate. For testing purposes, a self-signed certificate is acceptable.
The server comes pre-configured with a self-signed certificate for https://localhost. This article shows how to configure a self-signed SSL certificate for Password Express.
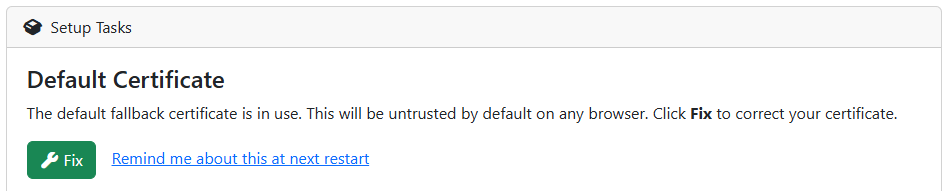
On a newly deployed system, you may see a pending Setup Task, where you can click Fix to get started.
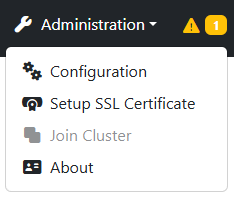
Or you can navigate to Administration->Setup SSL Certificate.
1. Change Certificate
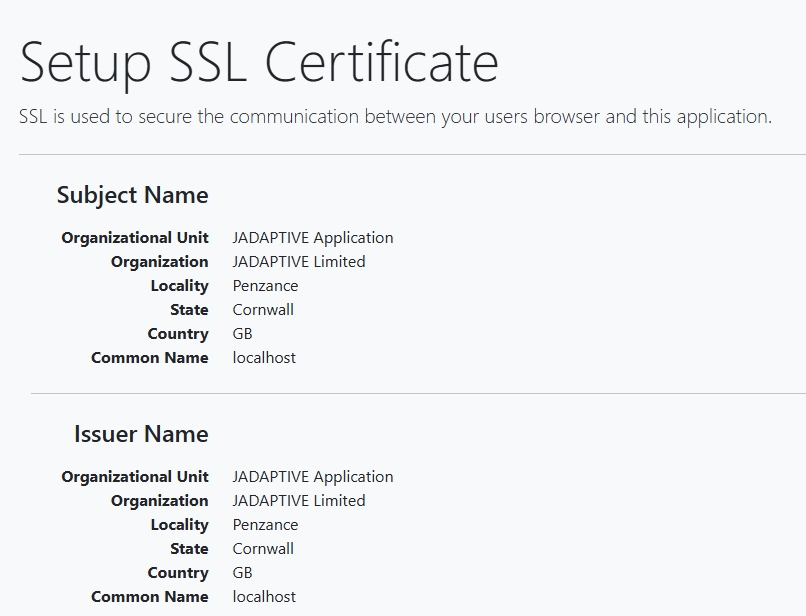
On the SSL Certificate page, you will be presented with information about the currently configured SSL certificate. Note that the common name is localhost.
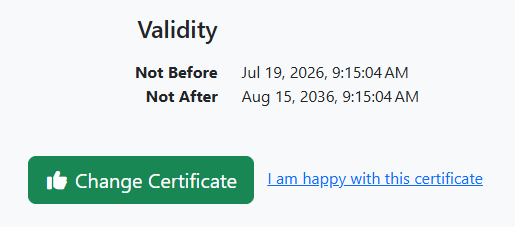
Click Change Certificate at the bottom.
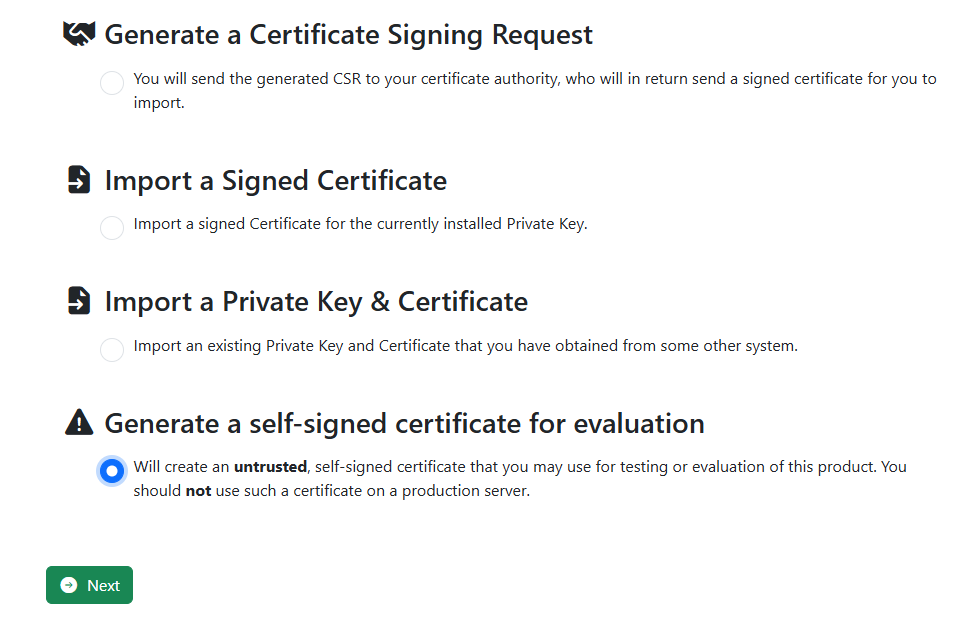
Select Generate a self-signed certificate for evaluation, then click Next.
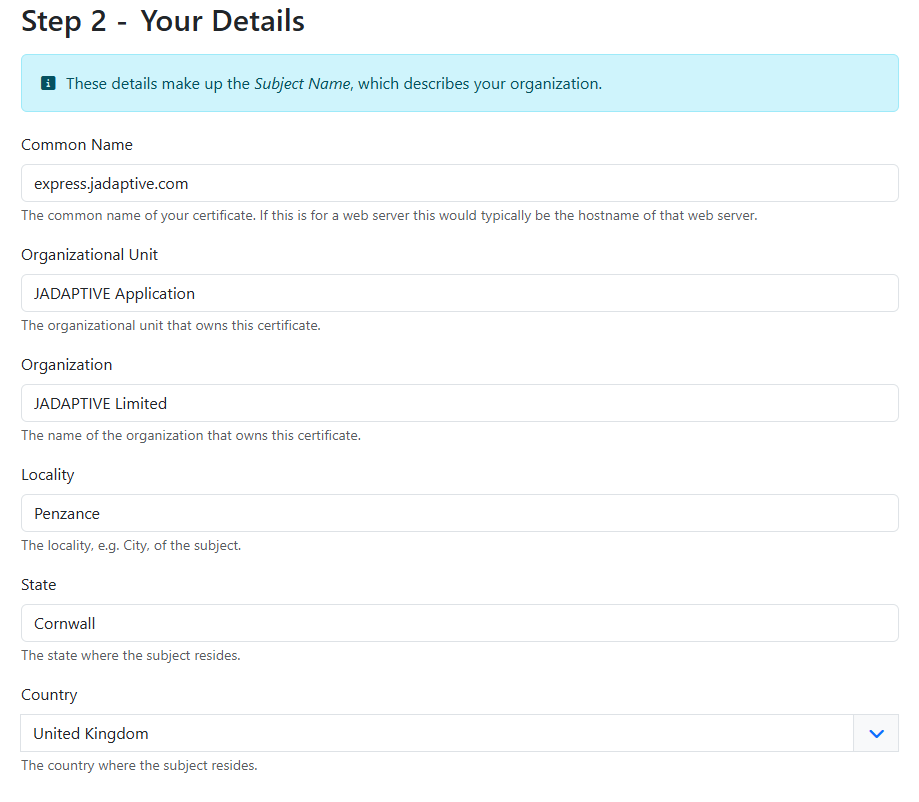
Complete the details form, ensuring the Common Name matches the hostname you will use for your Password Express server. Complete the rest of the form as applies to your organisation. Click Next to continue.
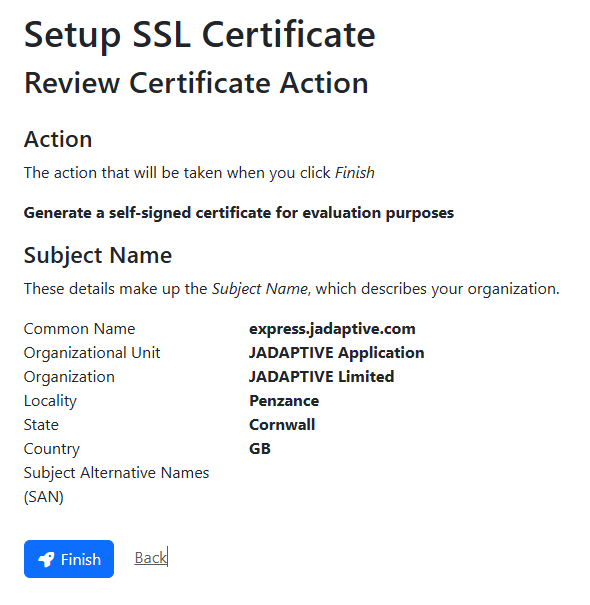
Review the details and click Finish.
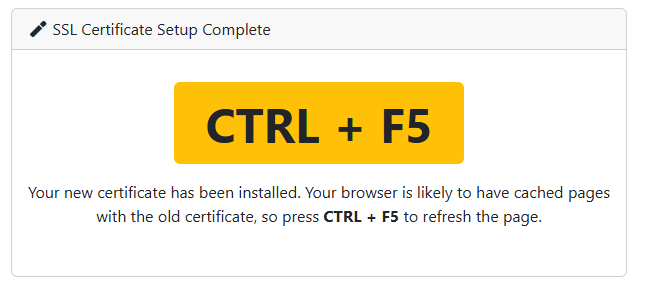
Refresh your browser as instructed to load the new certificate.
Note: If this does not work, restart your browser.
2. Testing the certificate
Navigate to your Password Express server's hostname in your browser. You will see a certificate warning, which is expected because this certificate is not signed by a trusted certificate authority.

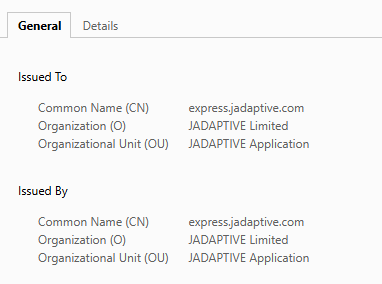
Inspect your certificate. In Google Chrome, for example, click Not Secure in the address bar, then Certificate Details.
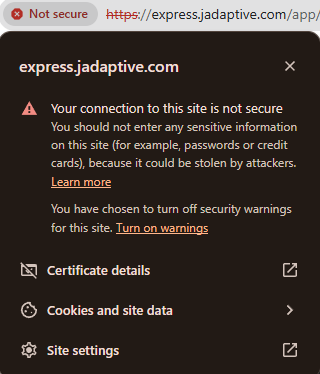
You can confirm that the Common Name matches the host.