Power-User Cheatsheet
Quick commands for users who want to get things done fast.
Use This In Order
Run these steps top to bottom: start the server, add a server, create a rule, register your device, then connect.
1. Start SSH Teams with Docker
mkdir -p ./nitrate/conf.d ./nitrate/data

docker run -d \
    --name sshteam \
    -p 8080:8080 \
    -p 8443:8443 \
    -v "$(pwd)/nitrate/conf.d:/app/conf.d" \
    -v "$(pwd)/nitrate/data:/app/nitrate/data" \
    -e SSHTEAM_PERSISTENCE_BACKEND=nitrate \
    -e HTTP_PORT=8080 \
    -e HTTPS_PORT=8443 \
    jadaptive/sshteam:latest
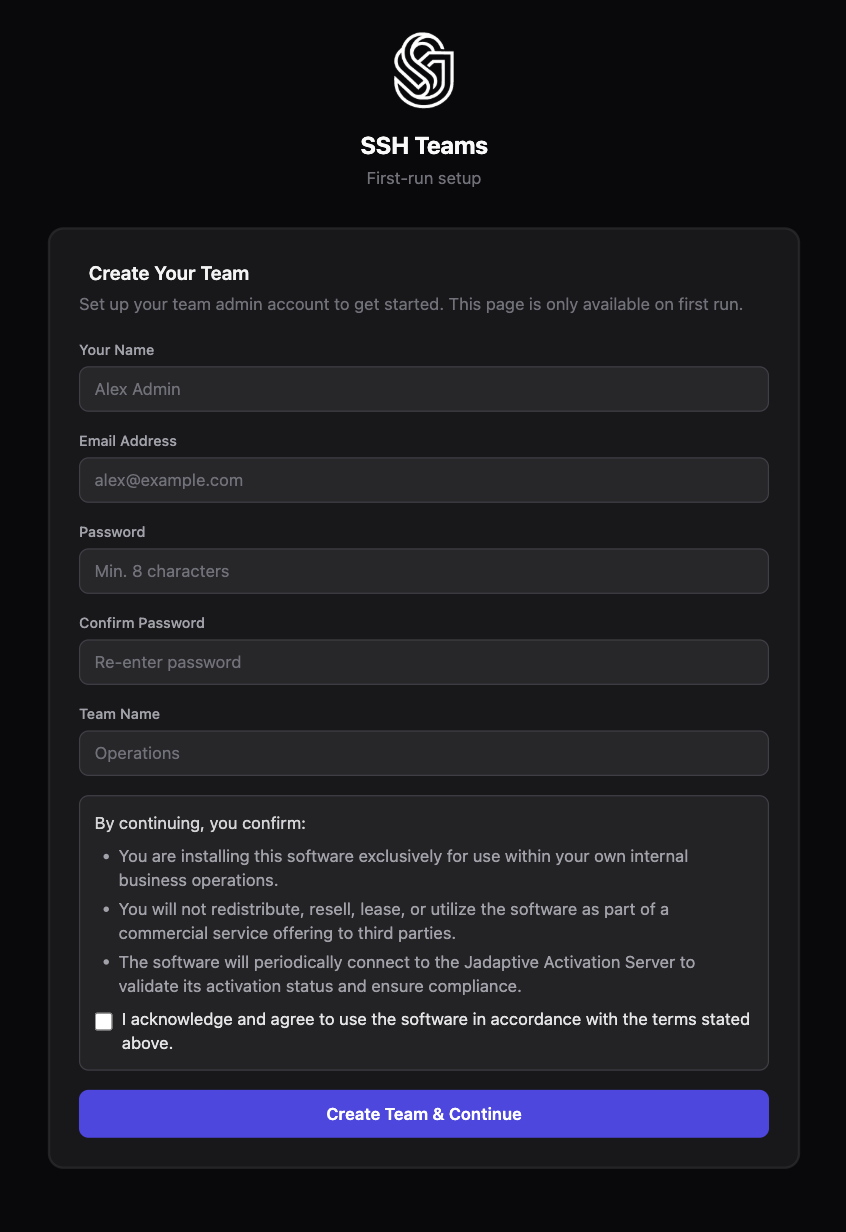
Then open https://localhost:8443 and run through the setup wizard to create your team and first admin account.
2. Add a Server (Linux/macOS)
Run the Join Command on the Server Itself
The join script installs the team's trusted CA keys and updates the local SSH service on the machine where it runs. Always run it directly on the server you are joining, not from your laptop or a bastion host.
The examples below use localhost to make it clear the command is meant to run on the server being joined. The hostname you type is used as a display label and to scan the host key. If you want a different name to appear in the dashboard, pass --name or -Name to override it. SSH Teams actually identifies the server by its SSH host key fingerprint, which the script collects from the local machine.
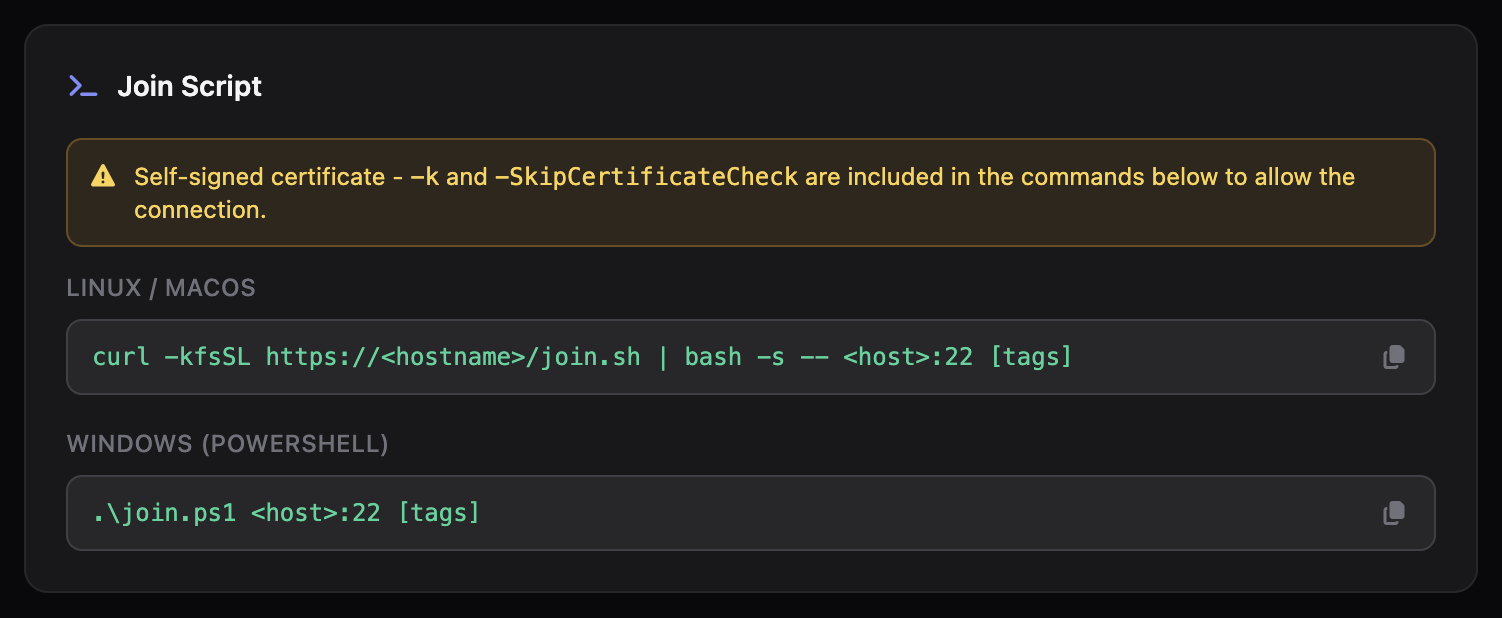
curl -fsSL https://<hostname>/join.sh | bash -s -- localhost:22 prod,linux --name "app01"
If you are using a self-signed certificate temporarily:
curl -kfsSL https://<hostname>/join.sh | bash -s -- localhost:22 prod,linux --name "app01"
3. Add a Server (Windows)
From an administrator PowerShell session on the target server:
irm https://<hostname>/join.ps1 -OutFile .\join.ps1
.\join.ps1 "localhost:22" "prod,windows" -Name "app01-win"
If you are using a self-signed certificate temporarily:
irm -SkipCertificateCheck https://<hostname>/join.ps1 -OutFile .\join.ps1
.\join.ps1 "localhost:22" "prod,windows" -Name "app01-win"
4. Create an Access Rule
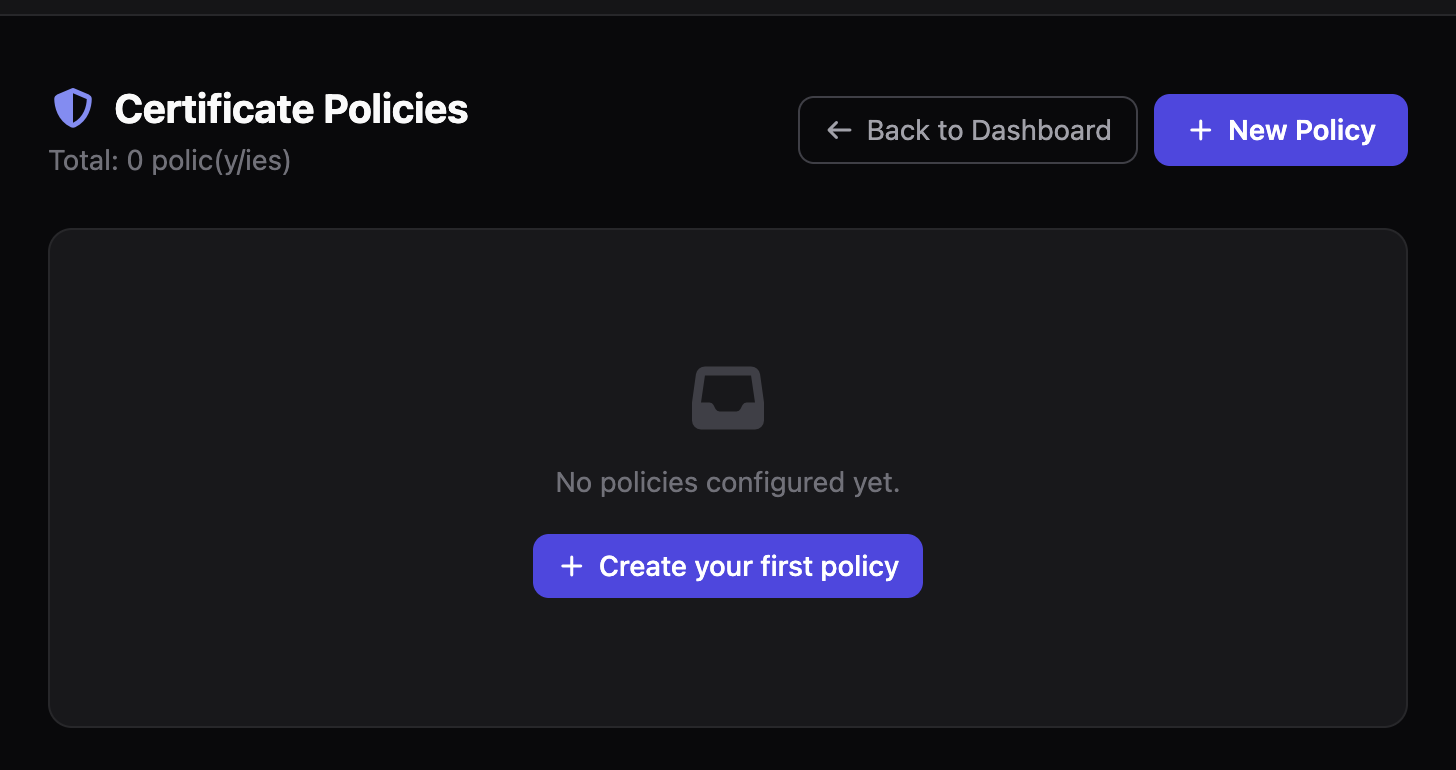
- Open
https://<hostname>/policies. - Click New Policy.
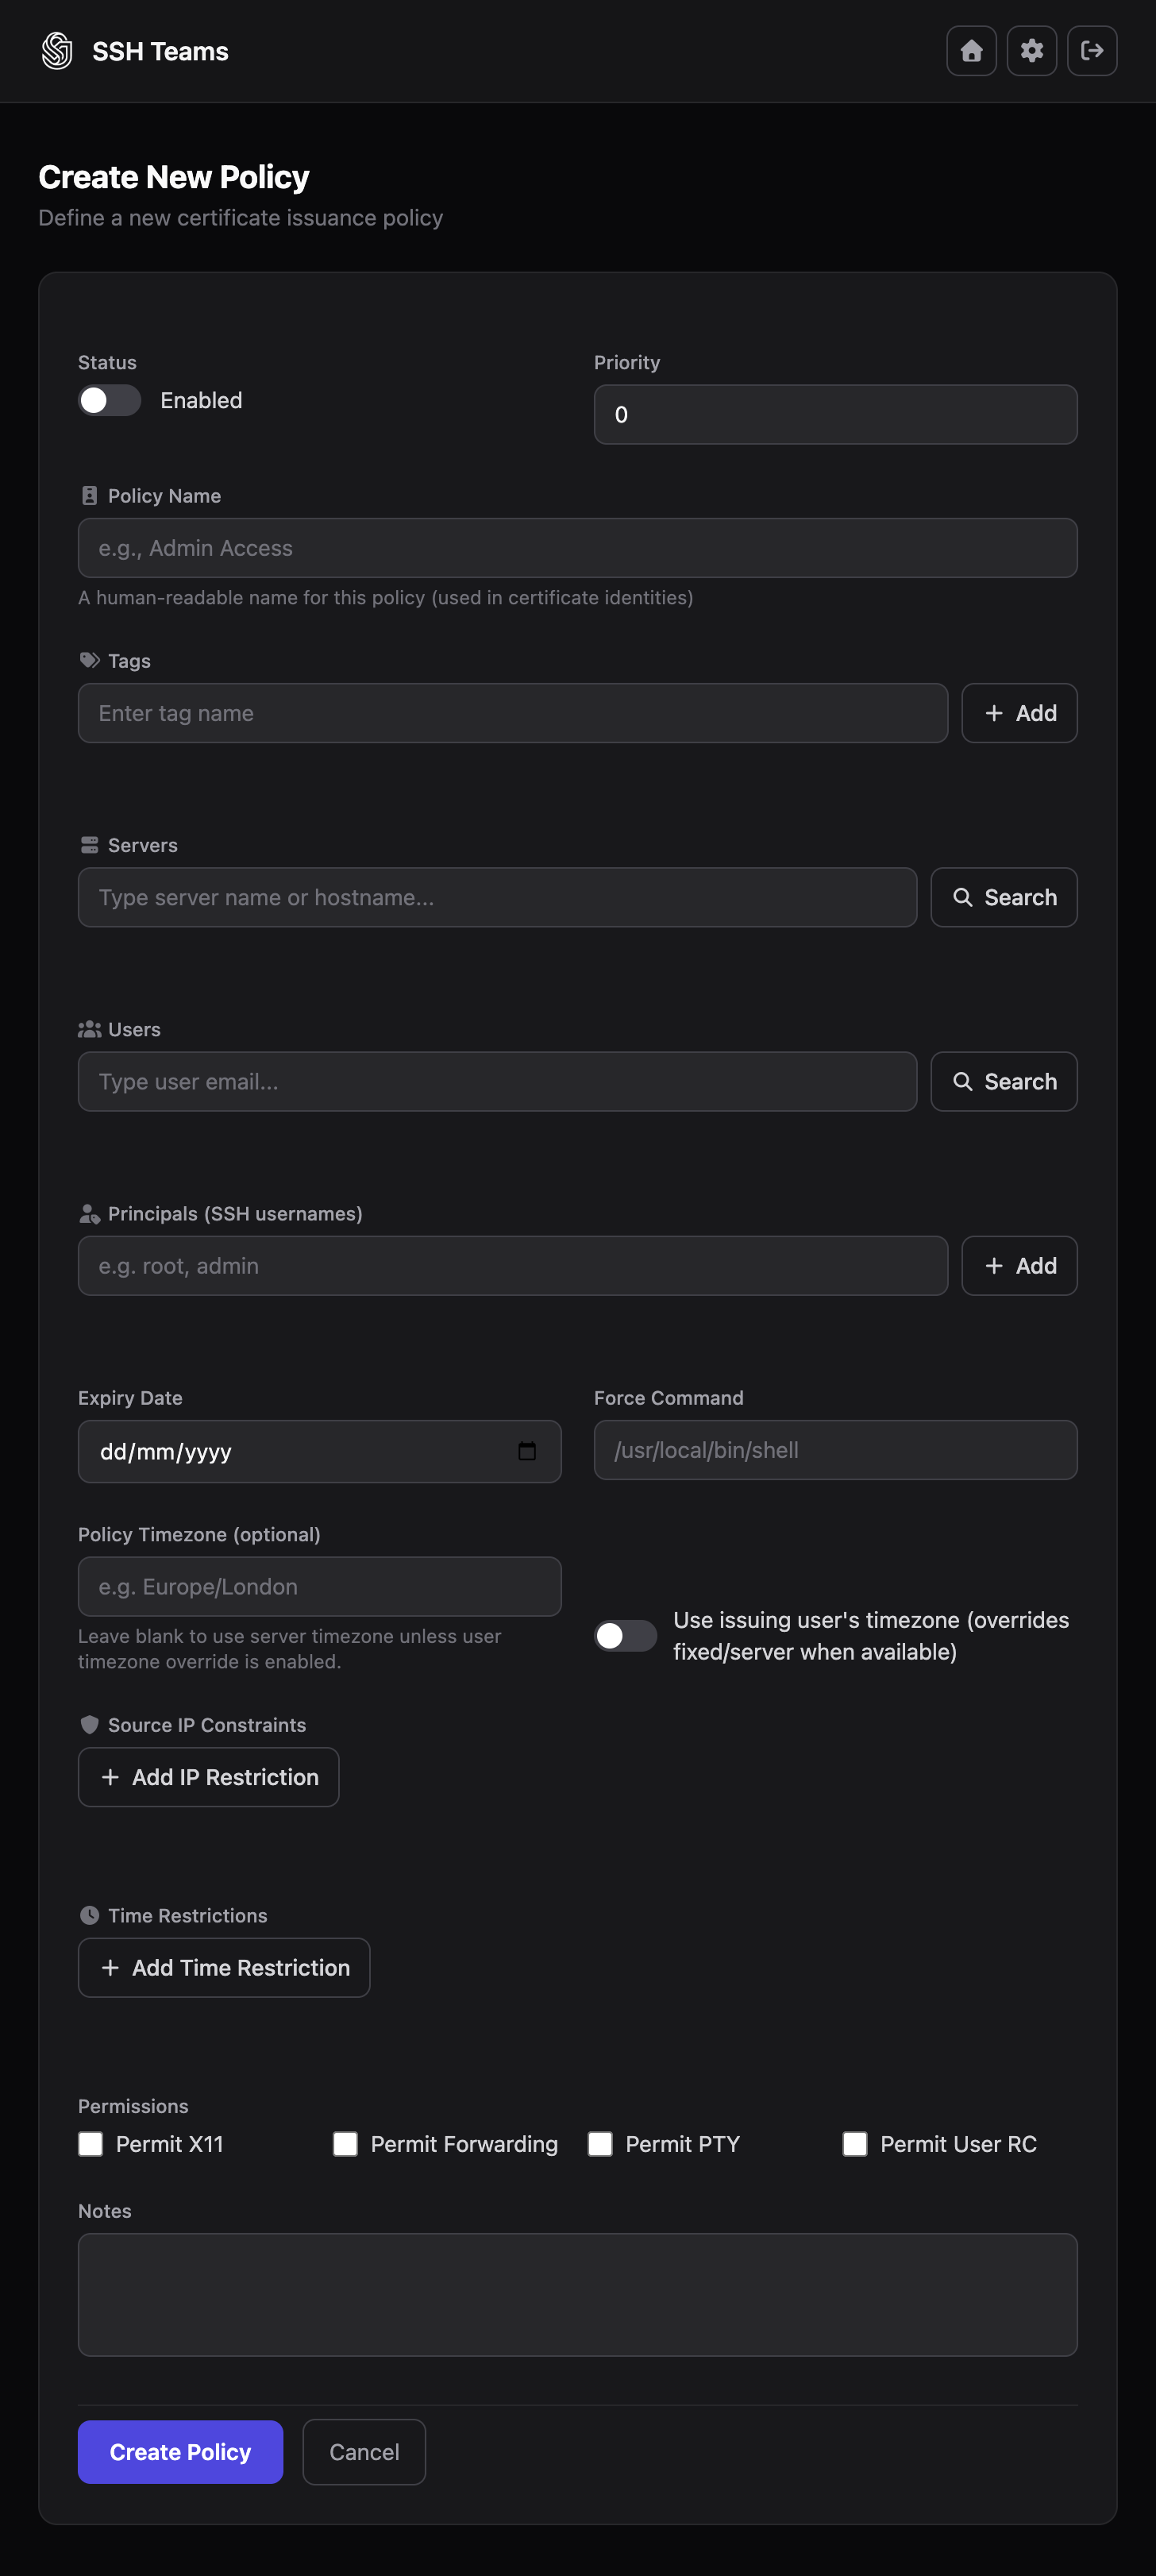
- Set:
- Name:
prod-ops-access - Enabled: true
- Priority: 100
- Tags:
prod - Principals:
ubuntu,deploy
- Name:
-
Choose the certificate options that match how people will connect:
- Permit PTY — allows an interactive shell prompt. Turn this on for normal
sshteam sshconnections. - Permit Forwarding — allows port or agent tunneling through the connection. Turn this on only if your team uses tunnels.
- Permit X11 — lets graphical applications display on the user's desktop. Turn this on only if you use X11 forwarding.
- Permit User RC — runs commands from the user's
~/.ssh/rcfile. Most teams leave this off unless they have a specific workflow that needs it.
For everyday command-line access, enable Permit PTY and leave the others off unless you know you need them. 5. Click Save.
- Permit PTY — allows an interactive shell prompt. Turn this on for normal
5. Register Your Device
sshteam init https://<hostname>
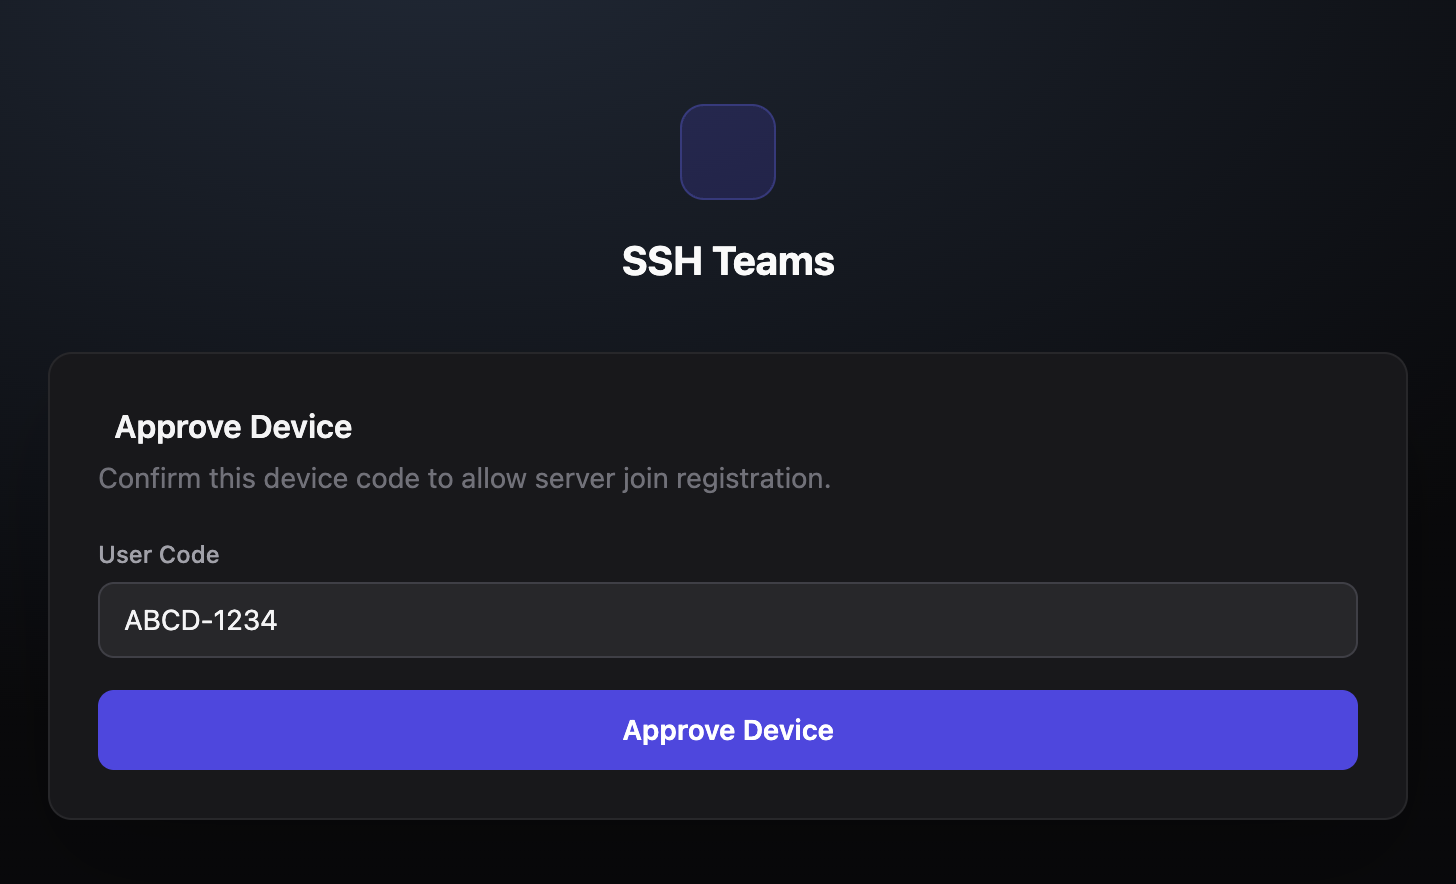
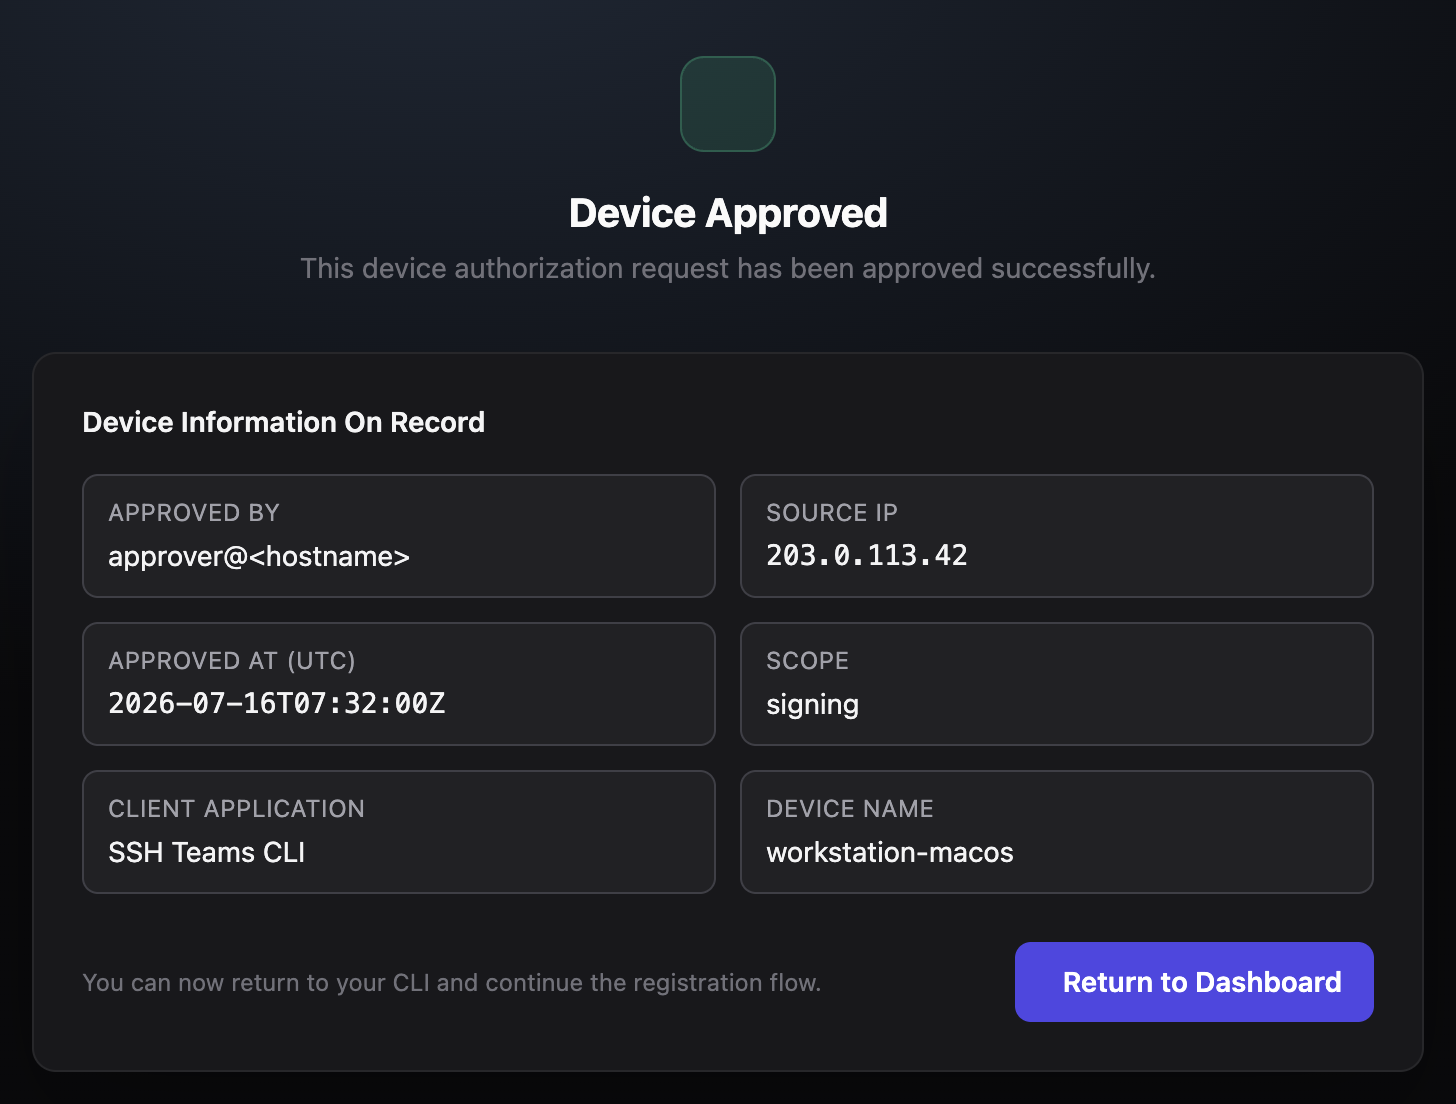
Then open the link shown in the terminal and approve the device.
6. Connect to the Server
sshteam ssh ubuntu@app01.example.internal
Useful variants:
sshteam ssh --server https://<hostname> ubuntu@app01.example.internal
sshteam ssh --ttl 15m ubuntu@app01.example.internal
7. Quick Checks
sshteam devices list
sshteam ssh ubuntu@app01.example.internal "hostname && whoami"
If access is denied, check:
- The server was joined with the expected tags.
- The policy matches the user, server tags, and Unix account.
- The device was approved for the same account.